8D8 bust model
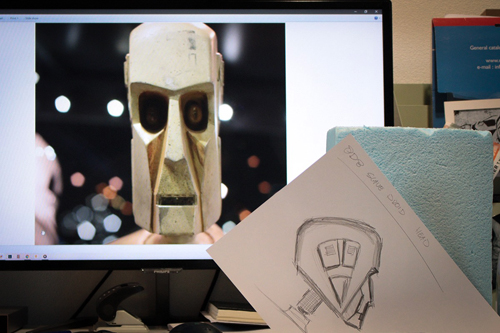
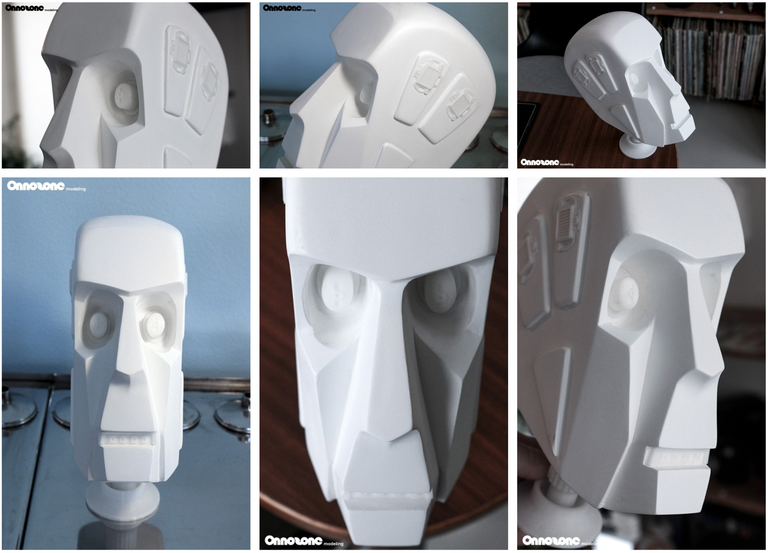
8D8 the torture droid from Return of the Jedi, this depressed looking droid in Jabba’s torture dungeon always fascinated me.
Drawing up the start of my next model project.
I made some good reference pictures at Star Wars Identities a couple years ago, already having this idea to model that head.
I’m ready to experiment with other modeling techniques, so I got a block of Styrofoam and will carve it directly out of it. It will be a fun build and I’m ready to get dirty!
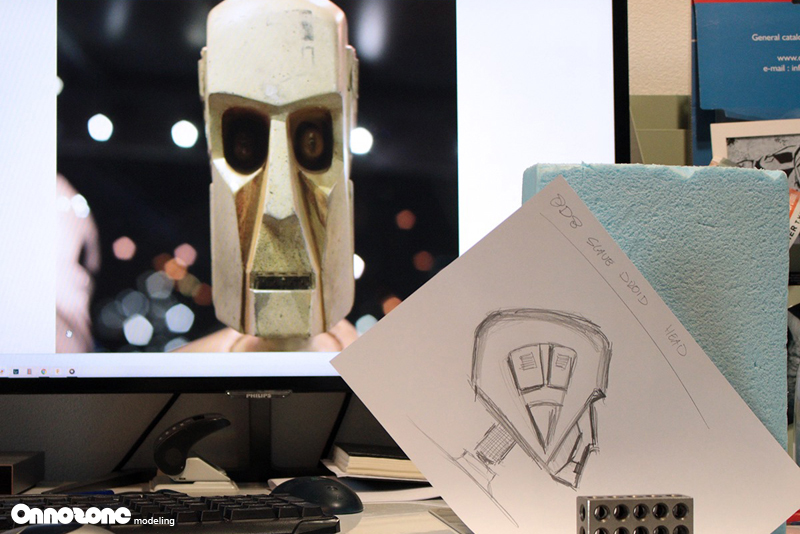
Hand drawn a template from the picture I took of the original mask.
Drawn it on the foam and cut and sanded it. Next will be drawing on the front projection and carving out more.
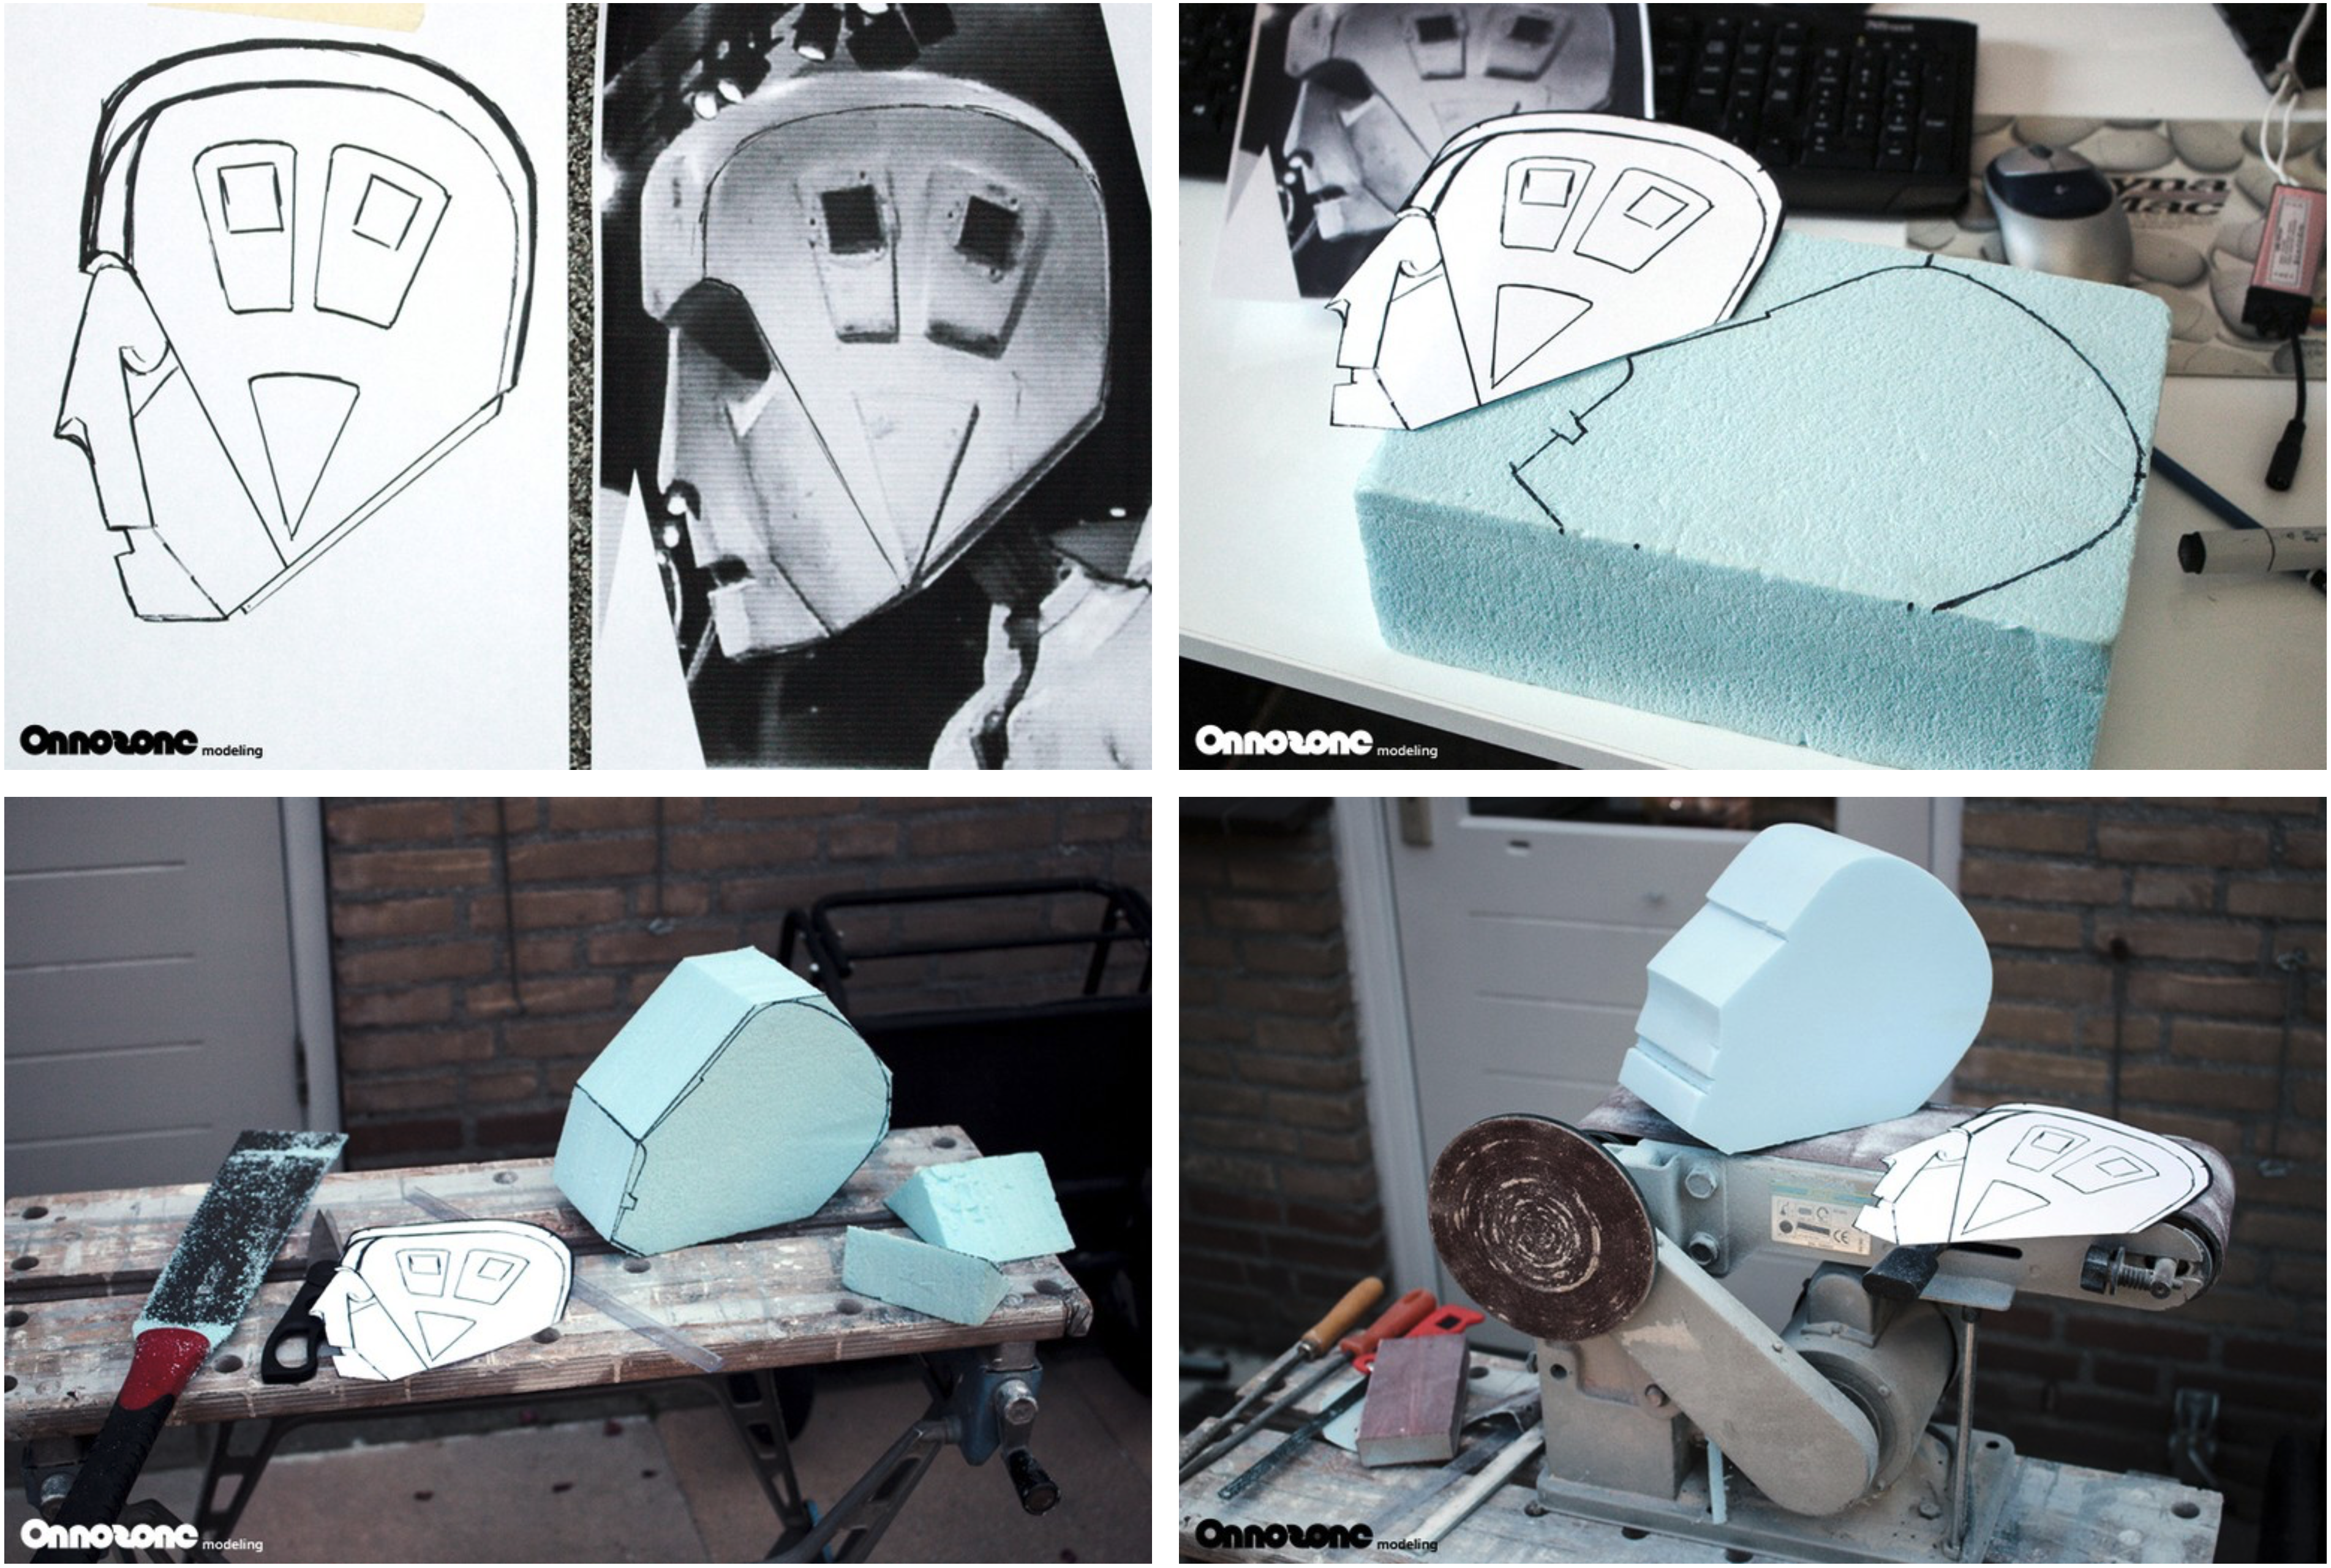
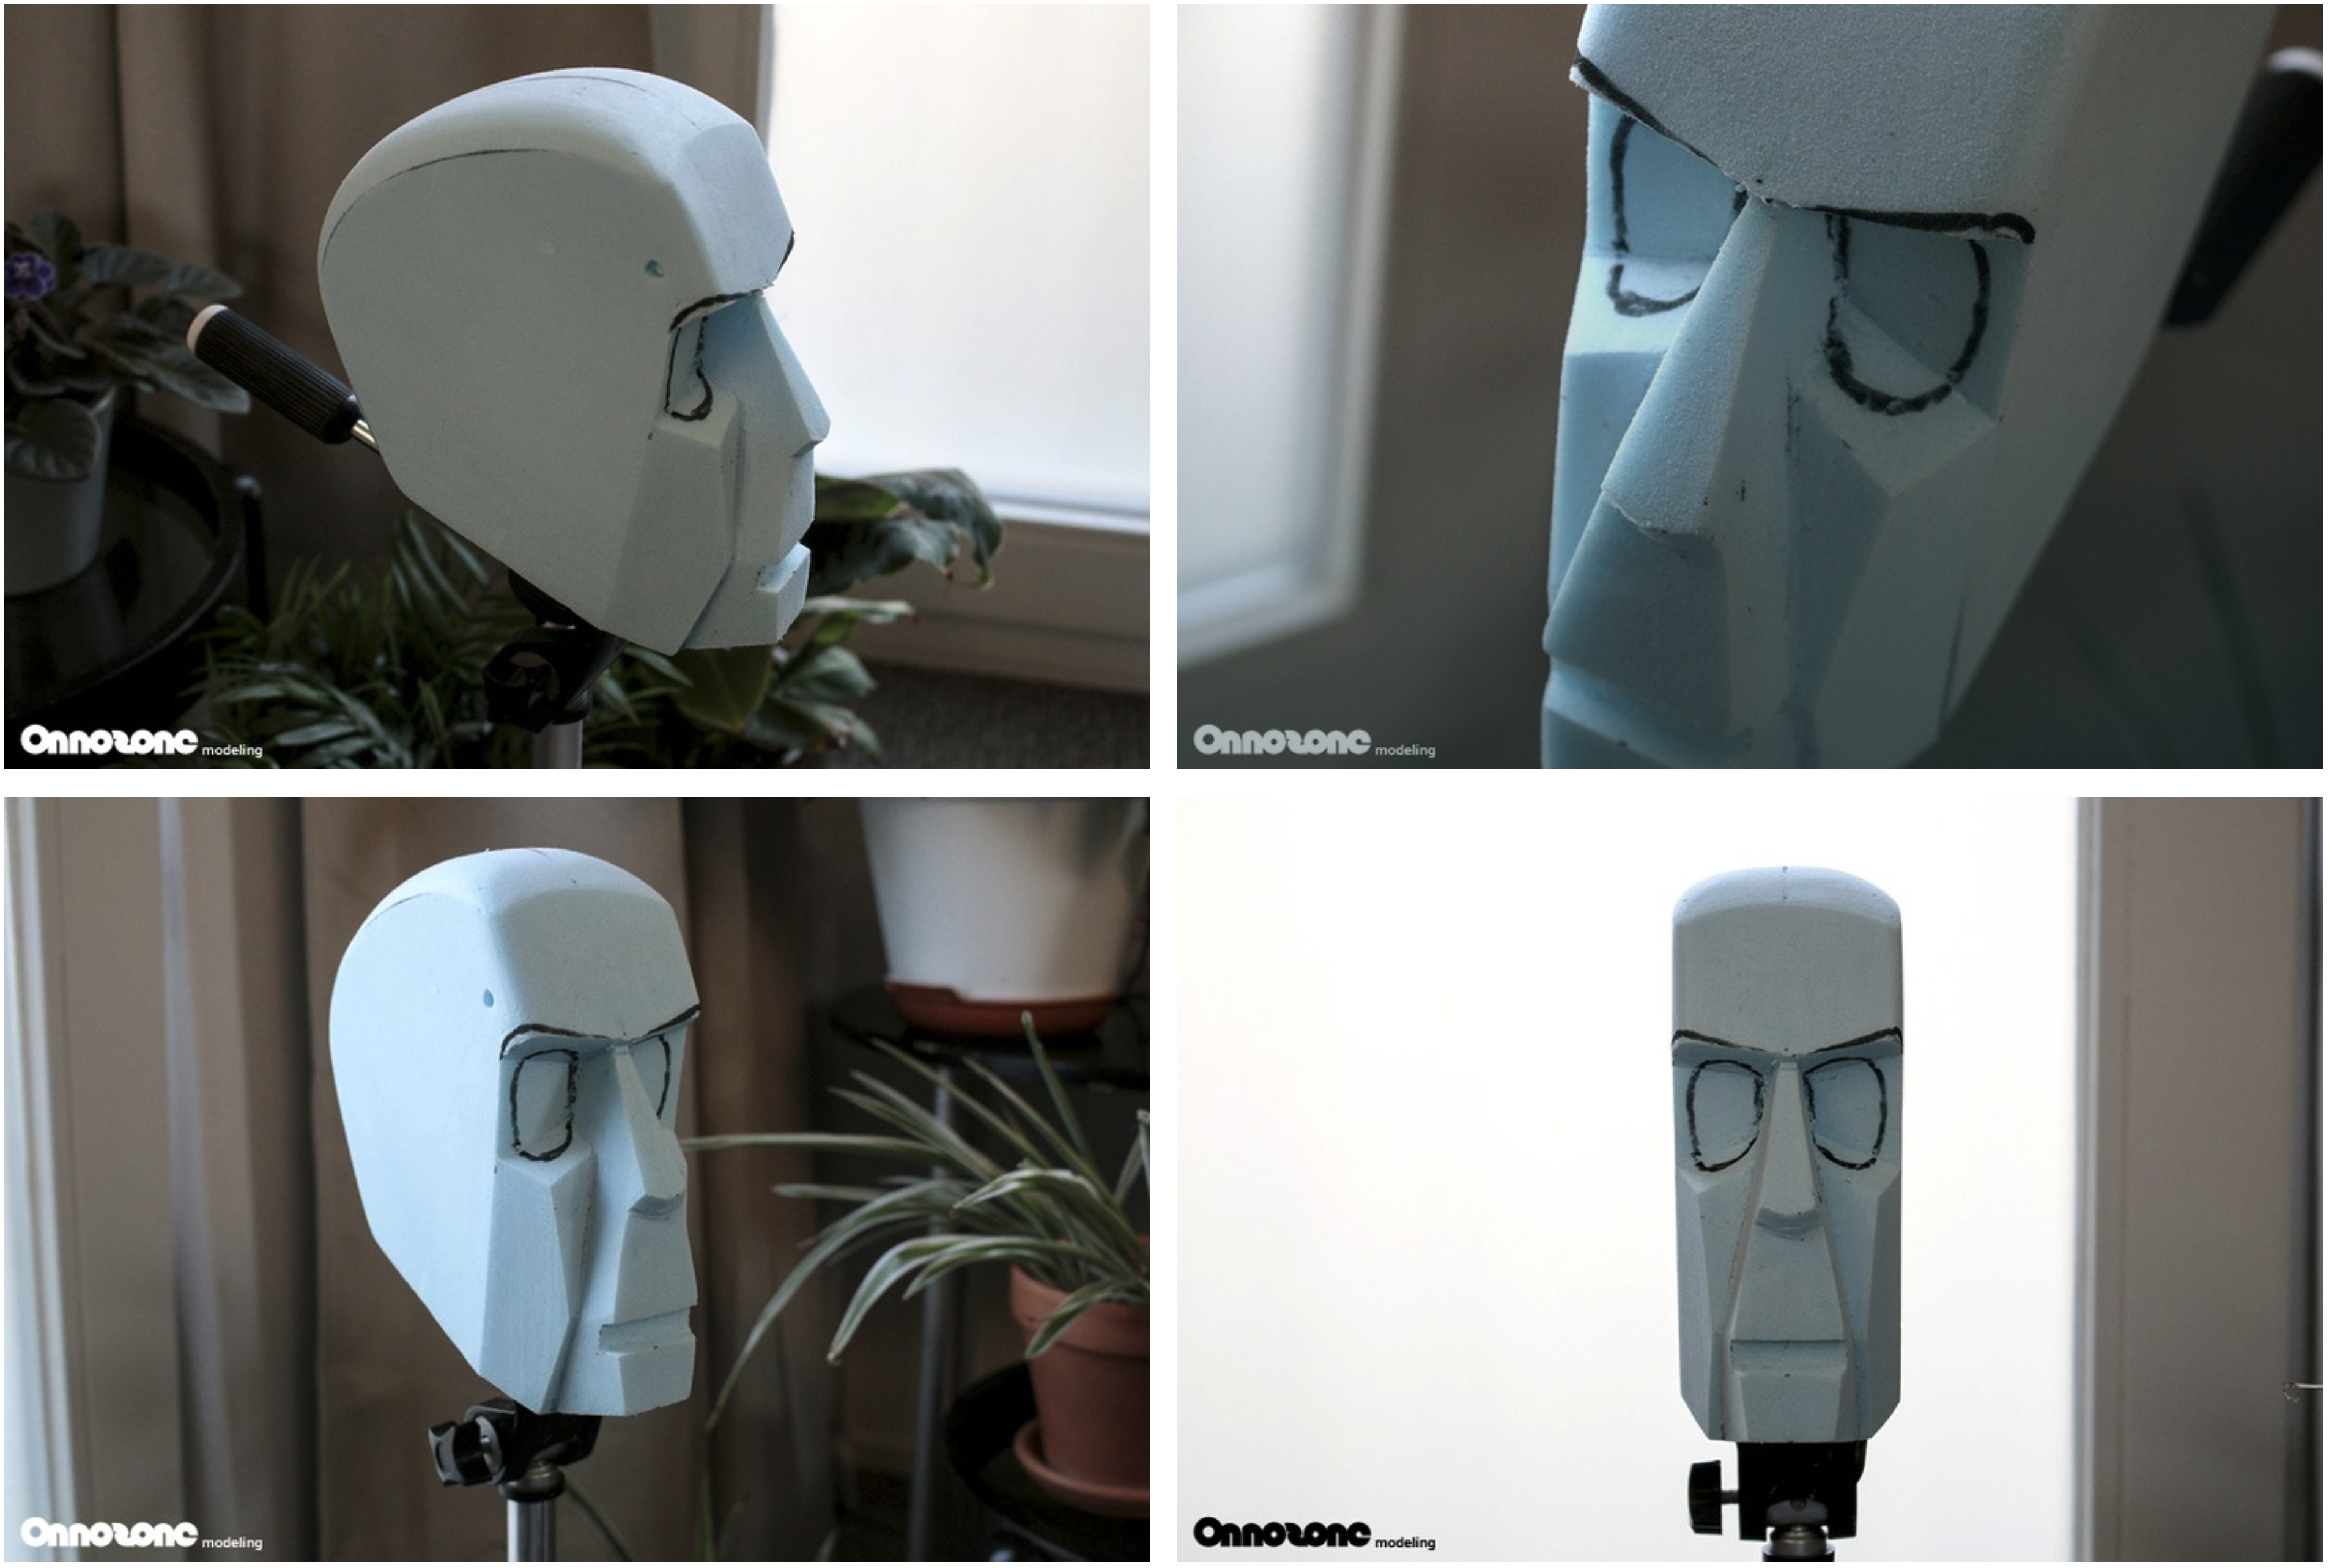
Working on the face
Been curving the dome of the head today, the foam is such a rewarding material to work with if treated properly. No force needed and instant result. Also I have been working on the face, drawing the parts that need to be cut away. It’s starting to look like something.
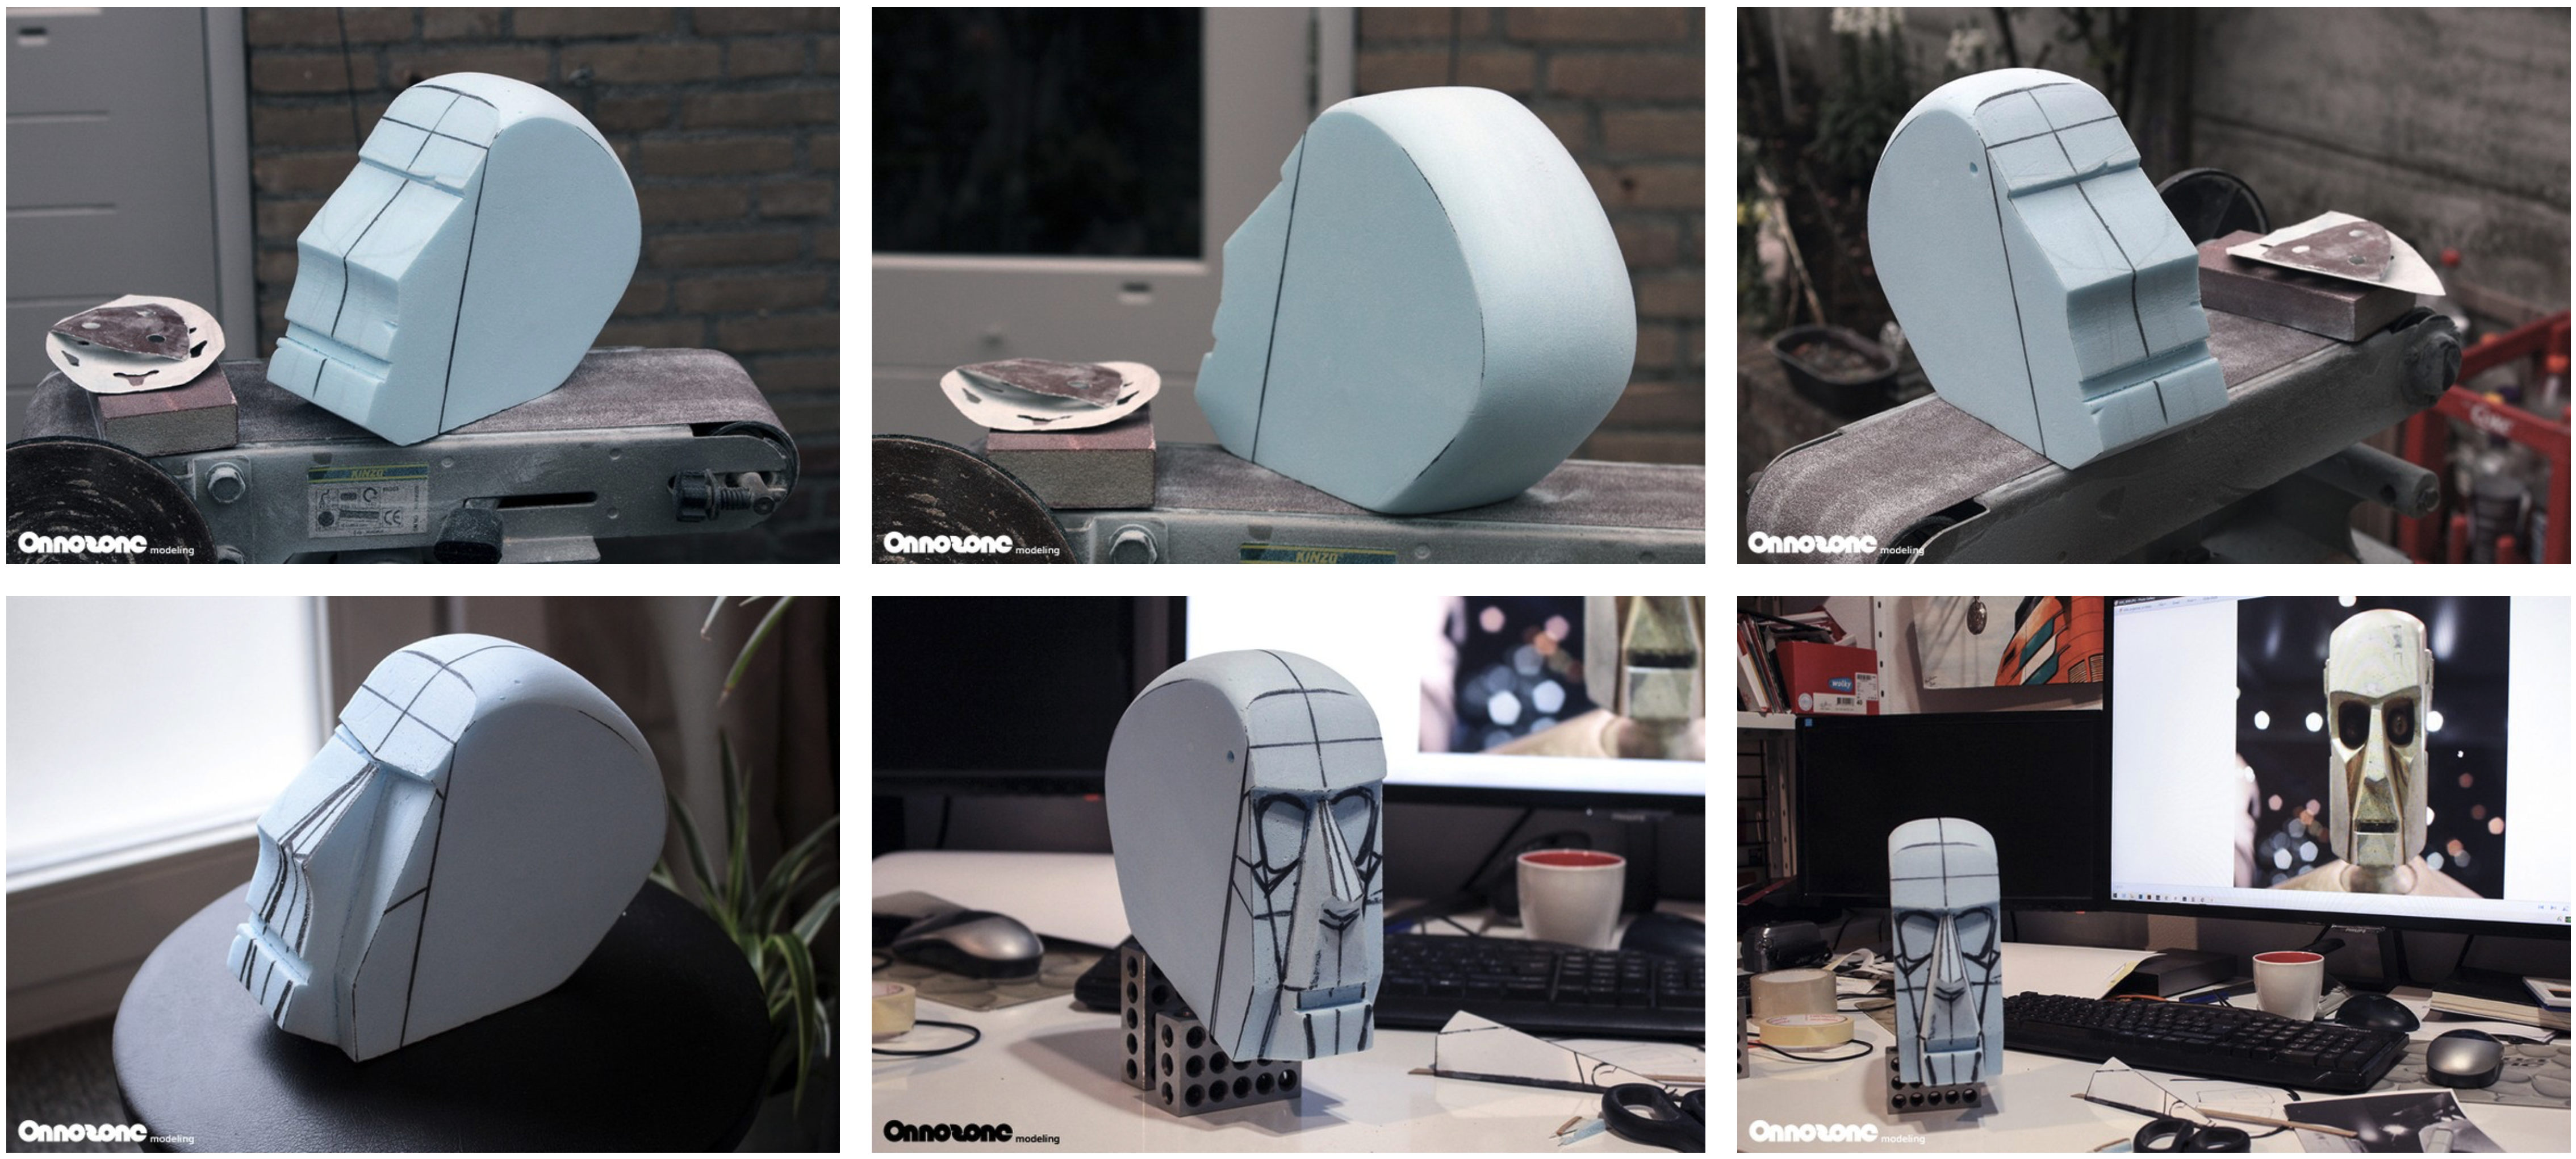
Basic face shape is there.
Cutting off more angles, basic face shape is there, next I will cut out the eye holes, which will be tricky to get the tools in there.
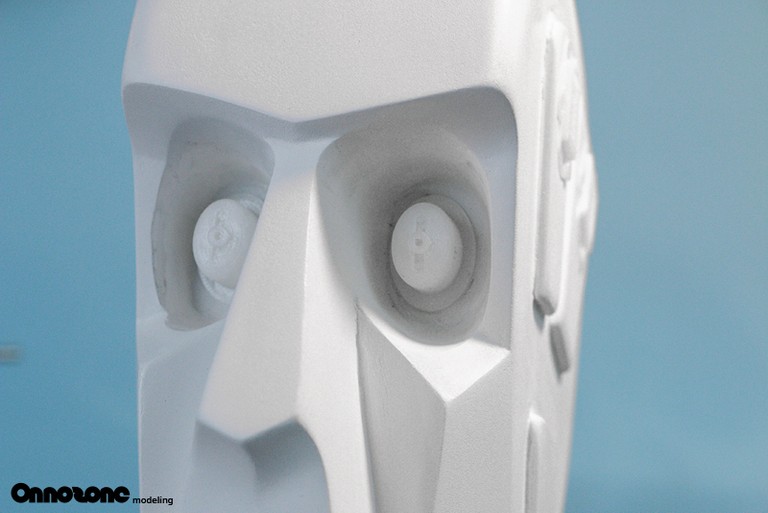
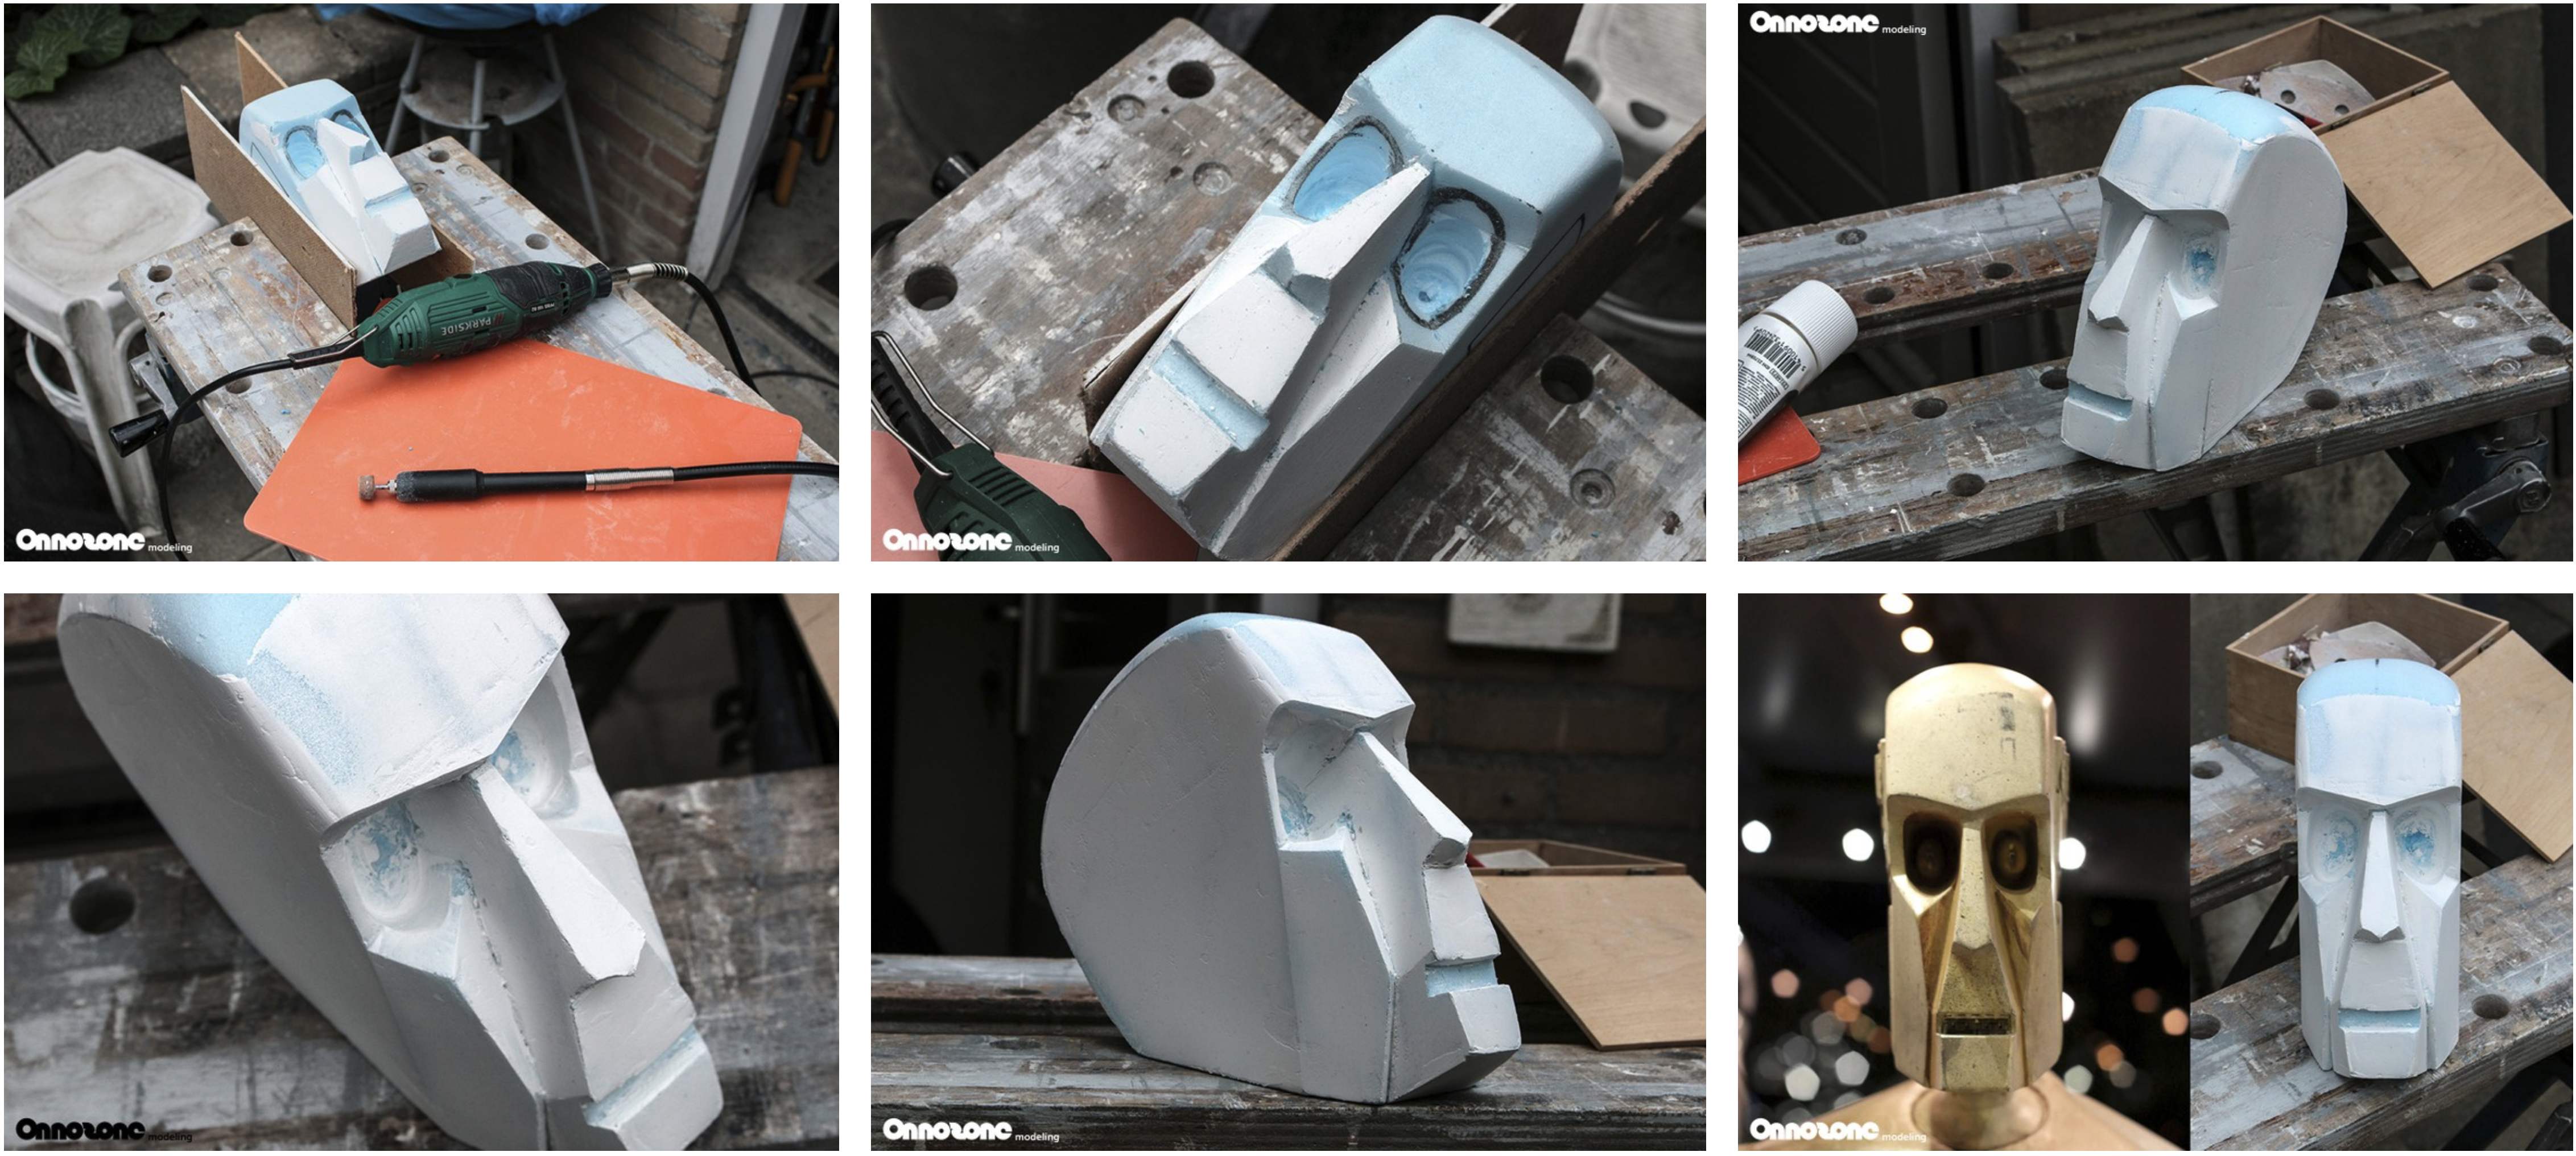
The eye cavities.
Progress of today, hollowed out the eye cavities and started applying a layer of plaster to the foam to get it more rigid to work with.
Small mechanical details.
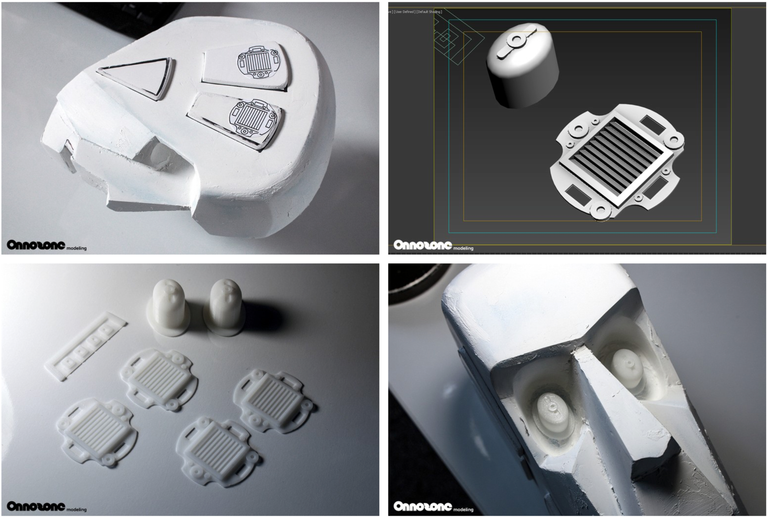
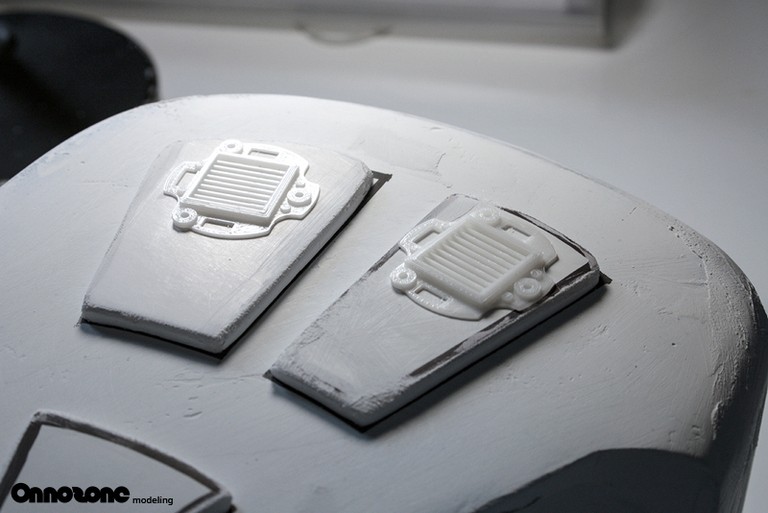
Carving by hand was perfect to create the head shape, however the more smaller and mechanical details need a different approach. I build them in 3D modeling program so I can 3D print them.
While the 3D printer is busy I filled up some uneven parts on the skin of the head. The next day when the parts were printed I did a dry test on the head to see if they fitted or needed some alteration.
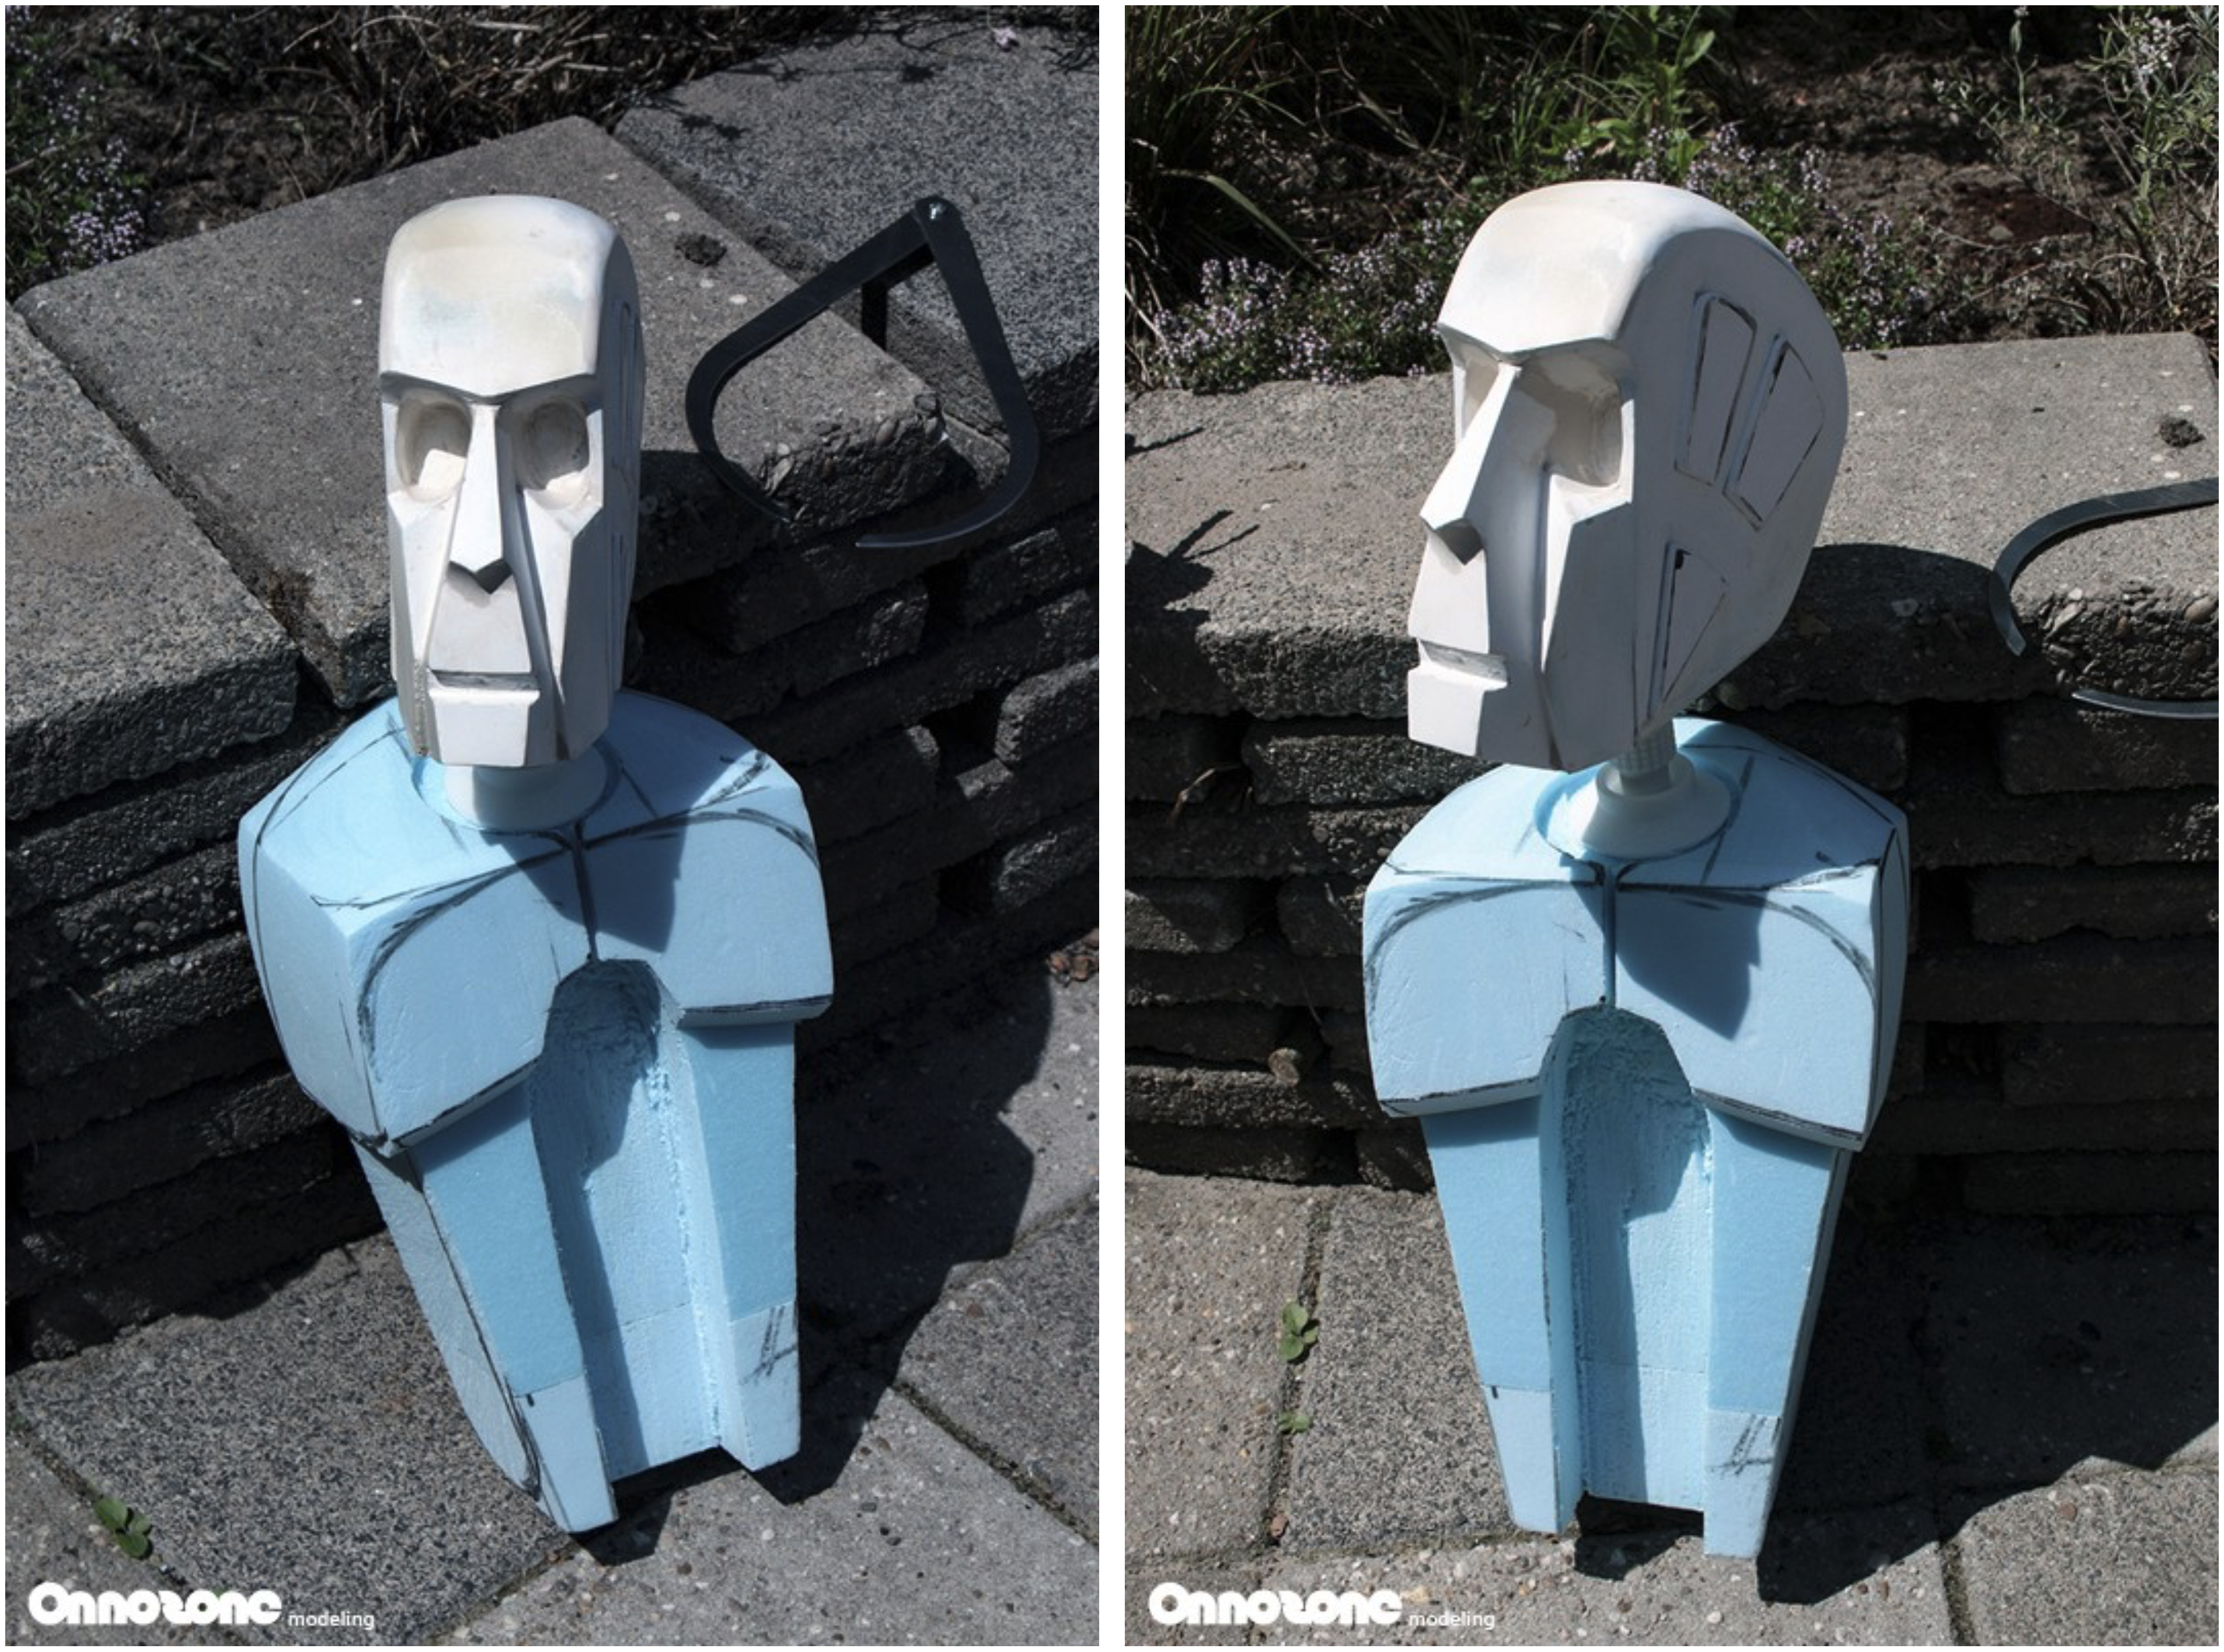
Neck of the droid.
Overnight I printed out the neck of the droid.
I made it hollow so I can eventually rotate the head on the neck for different poses.
Also found an extra piece of scrap foam that I’m carving into a partial torso to make a nicer overall presentation. It’s actually fun extending the head model.

Sharpening the details.
This is as sharp as I can get with this material. With a layer of primer it will look super smooth.
I’m considering making a mold and casting at least one copy that I can paint and “abuse”. I have been experimenting with silicone molding, though I’m a bit scared to use the sculpture as a master but it will be fun to create resin copies and offer a limited edition “garage” kit.
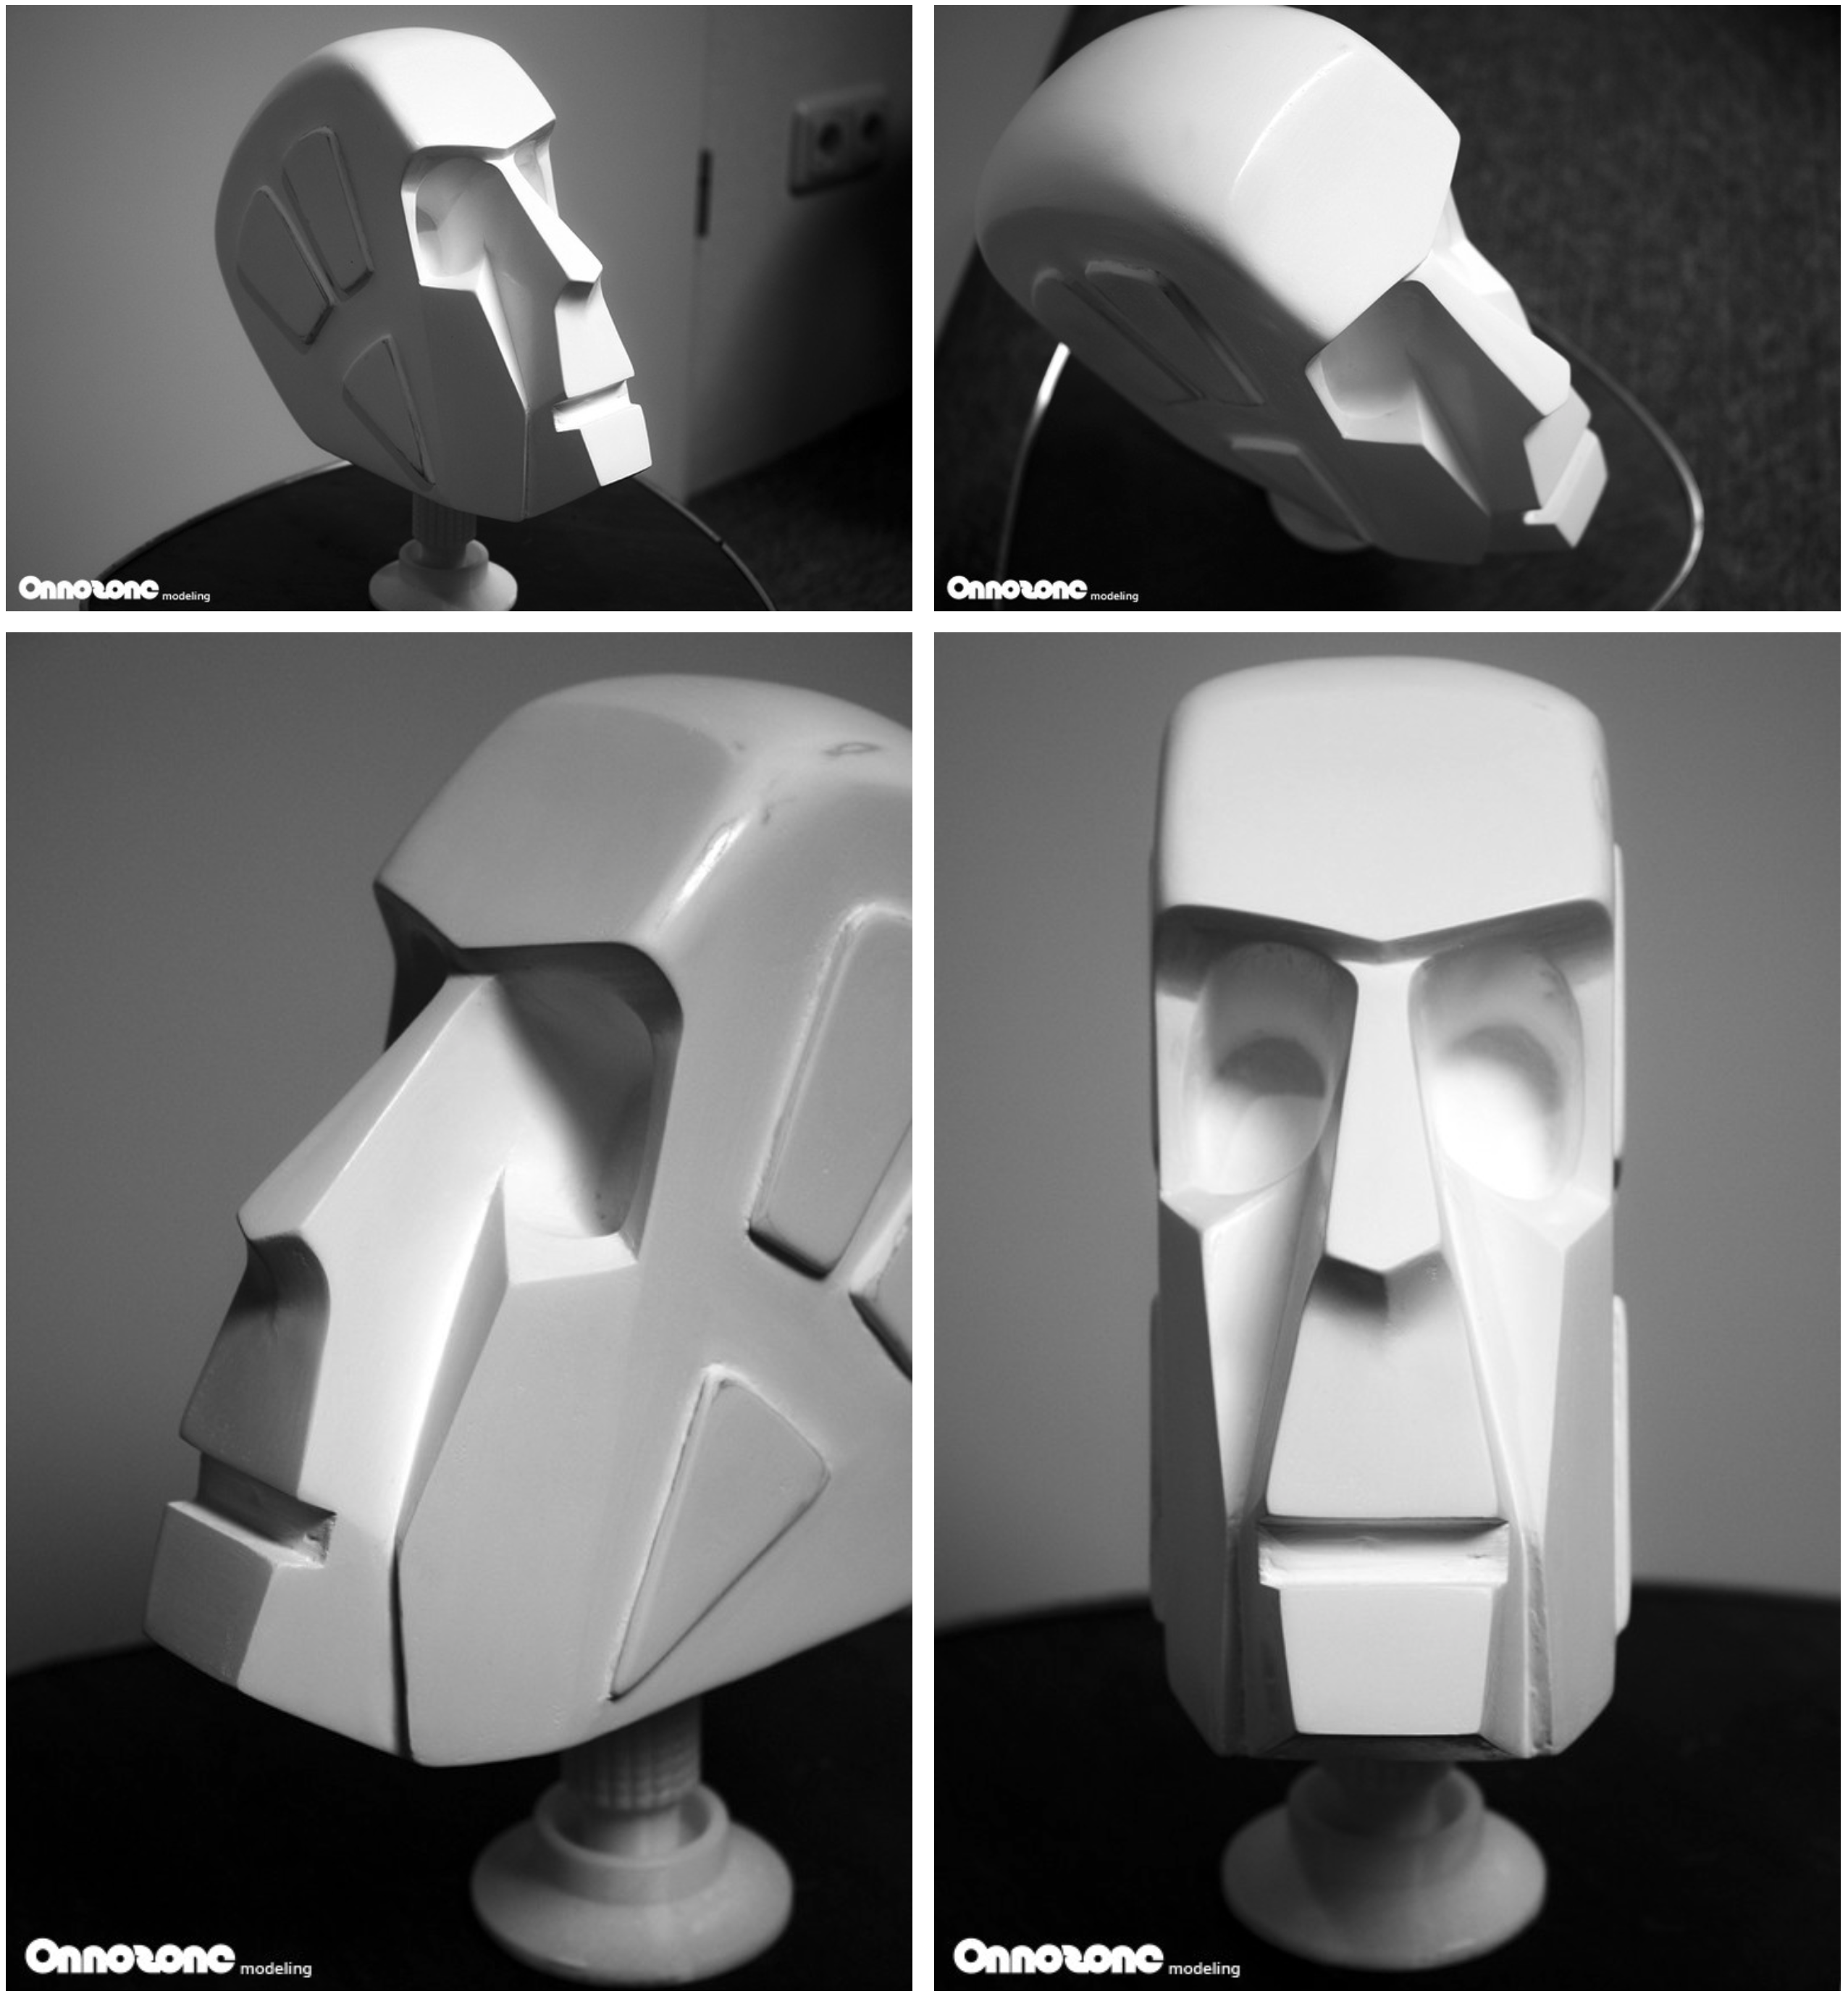
Glue time.
Glued on the 3D designed/printed parts. It’s ready now for making a mold.
The eyes will be separate parts and I’m considering having the option to build in some LED lights for the eyes.
Taking it to the next level.
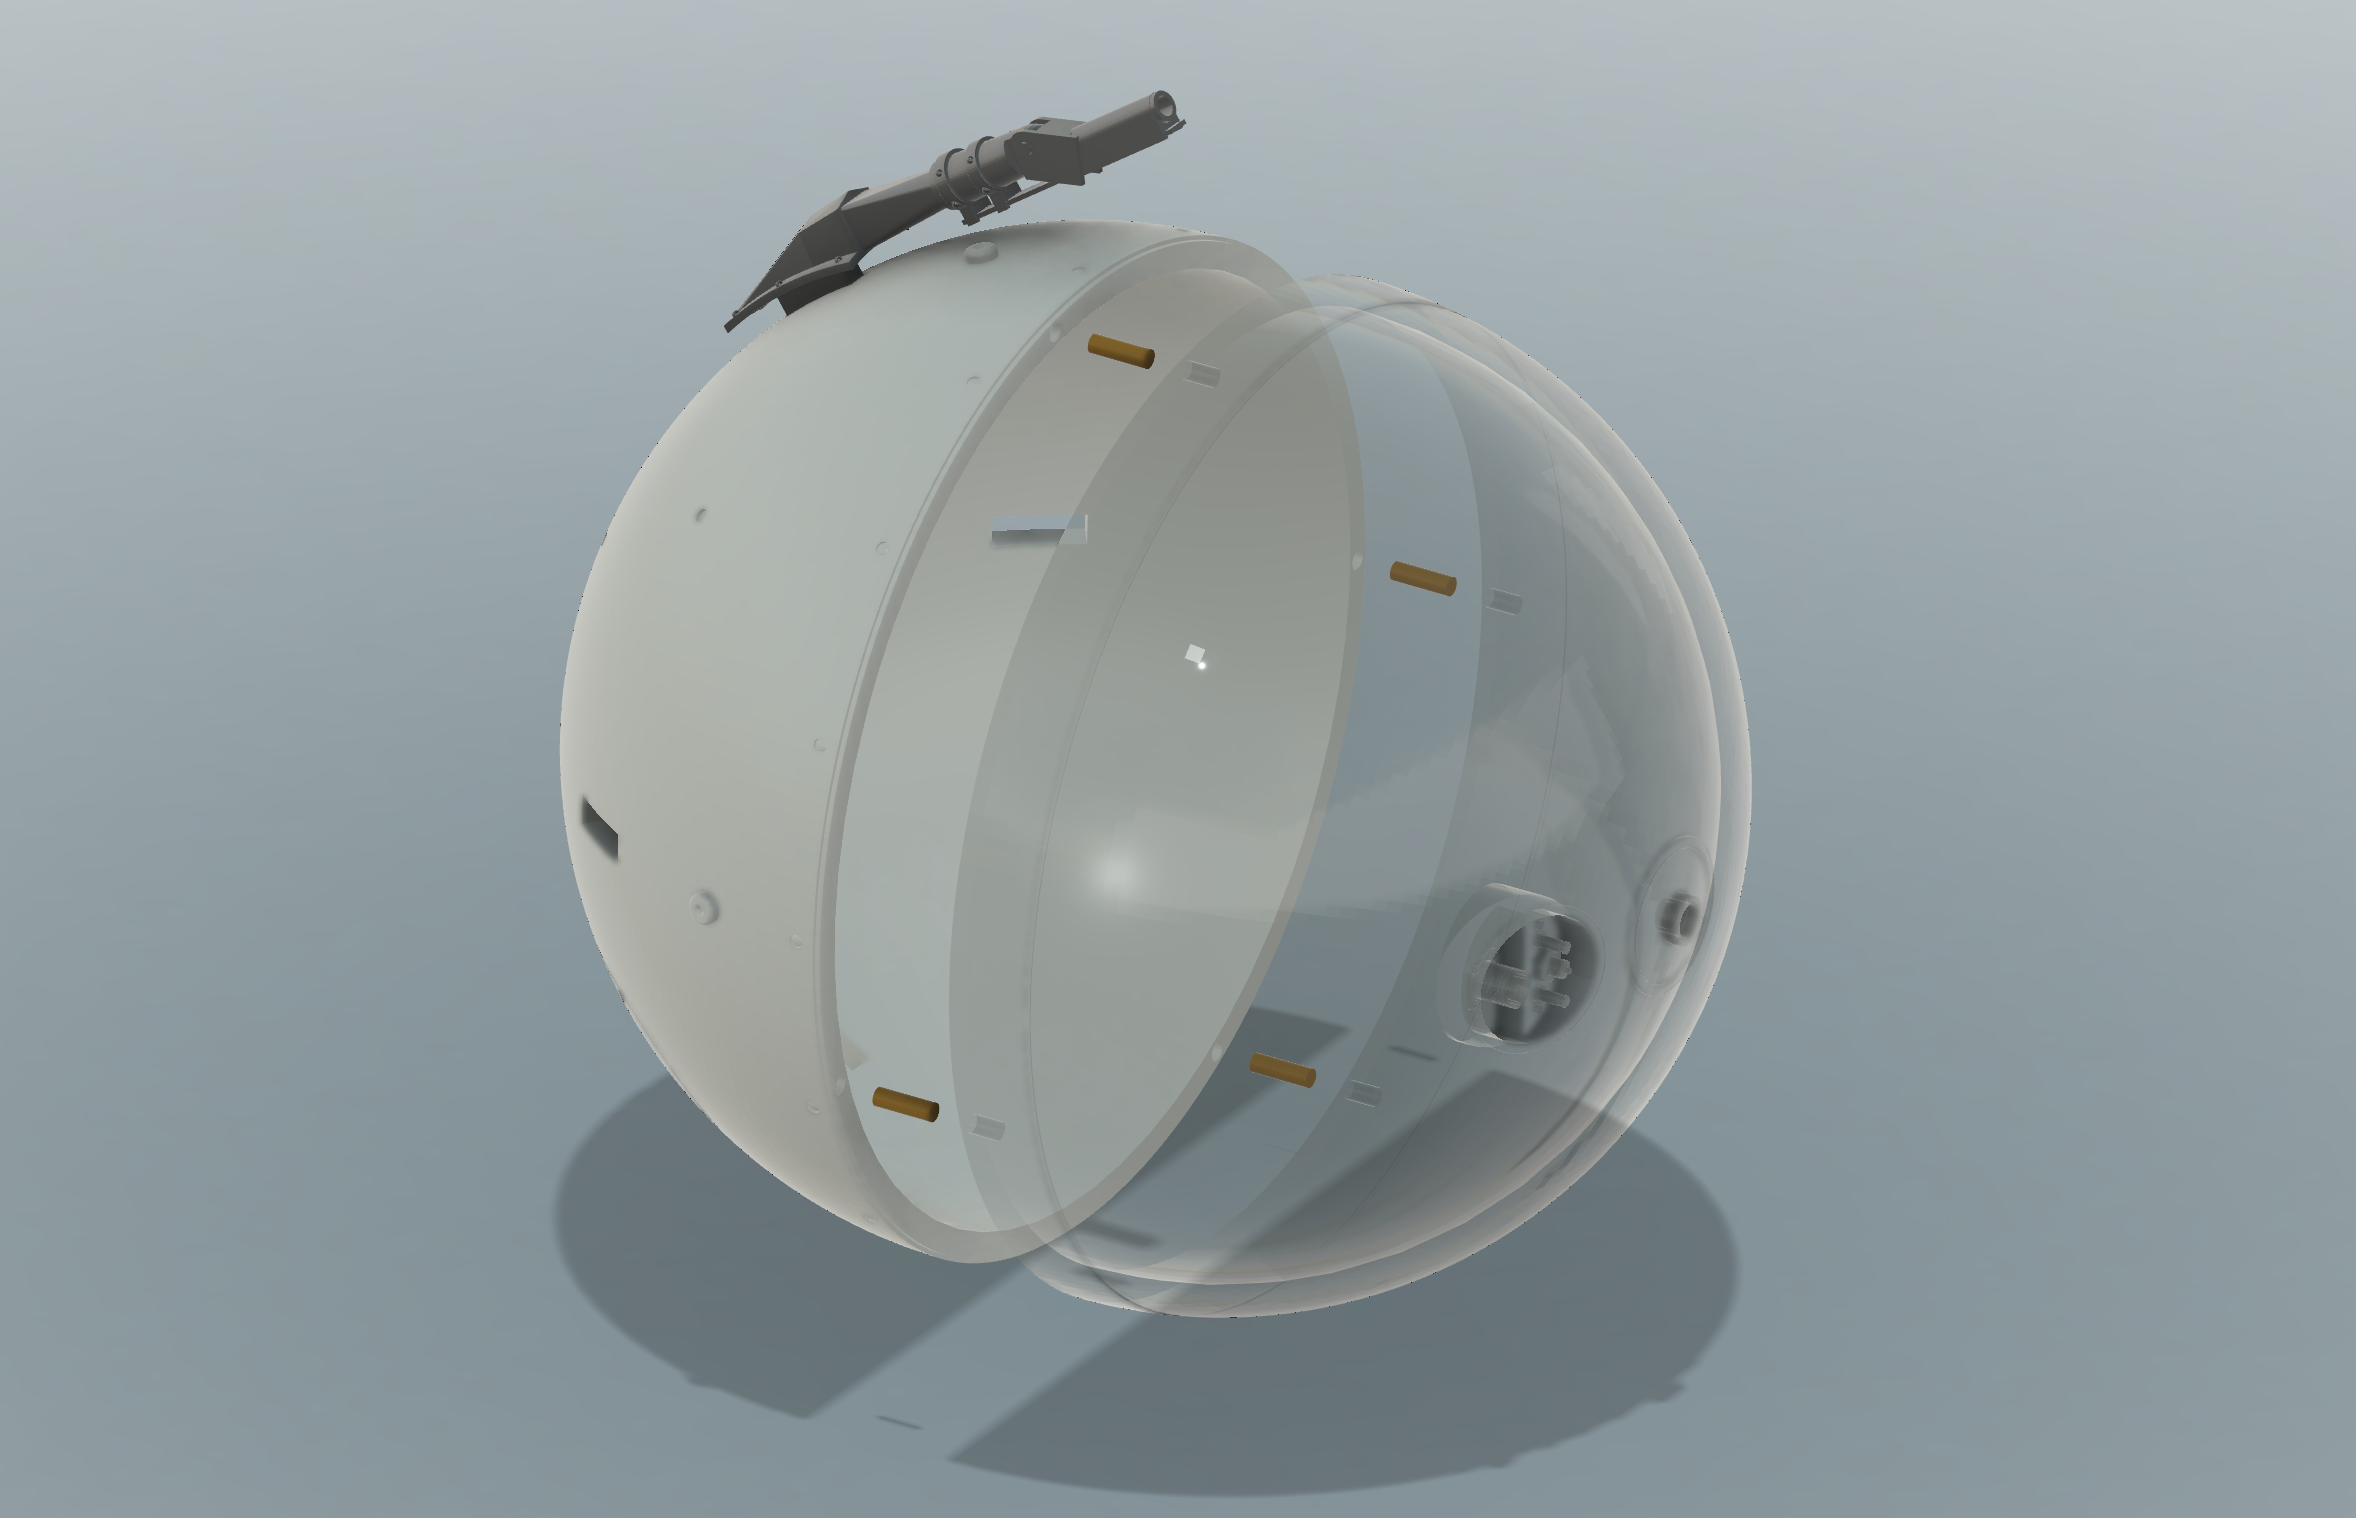
Now that the plan has changed and I will be producing a limited batch of “garage kits” I have been tweaking the “master” model to have the option of installing LEDs into the eyes and holes you can cut for the wires.
I made alignment pegs to position the eyes correctly (which unintentionally gave the robot head a cute expression) The eye pieces will eventually be cast in clear plexiglas and can hold a small LED.
The head itself will be from resin. I’m super excited to produce my very first kit, so much to learn here.

Creating silicone molds.
A few photography projects slipped in between, but today I started creating the silicone molds of the master shapes.

More molds have been made.
8D8 update 2 from yesterday, more molds have been made for the parts.
The face part of the 8D8 is poured, now waiting for the next batch of silicone to pour into the back part of the head.
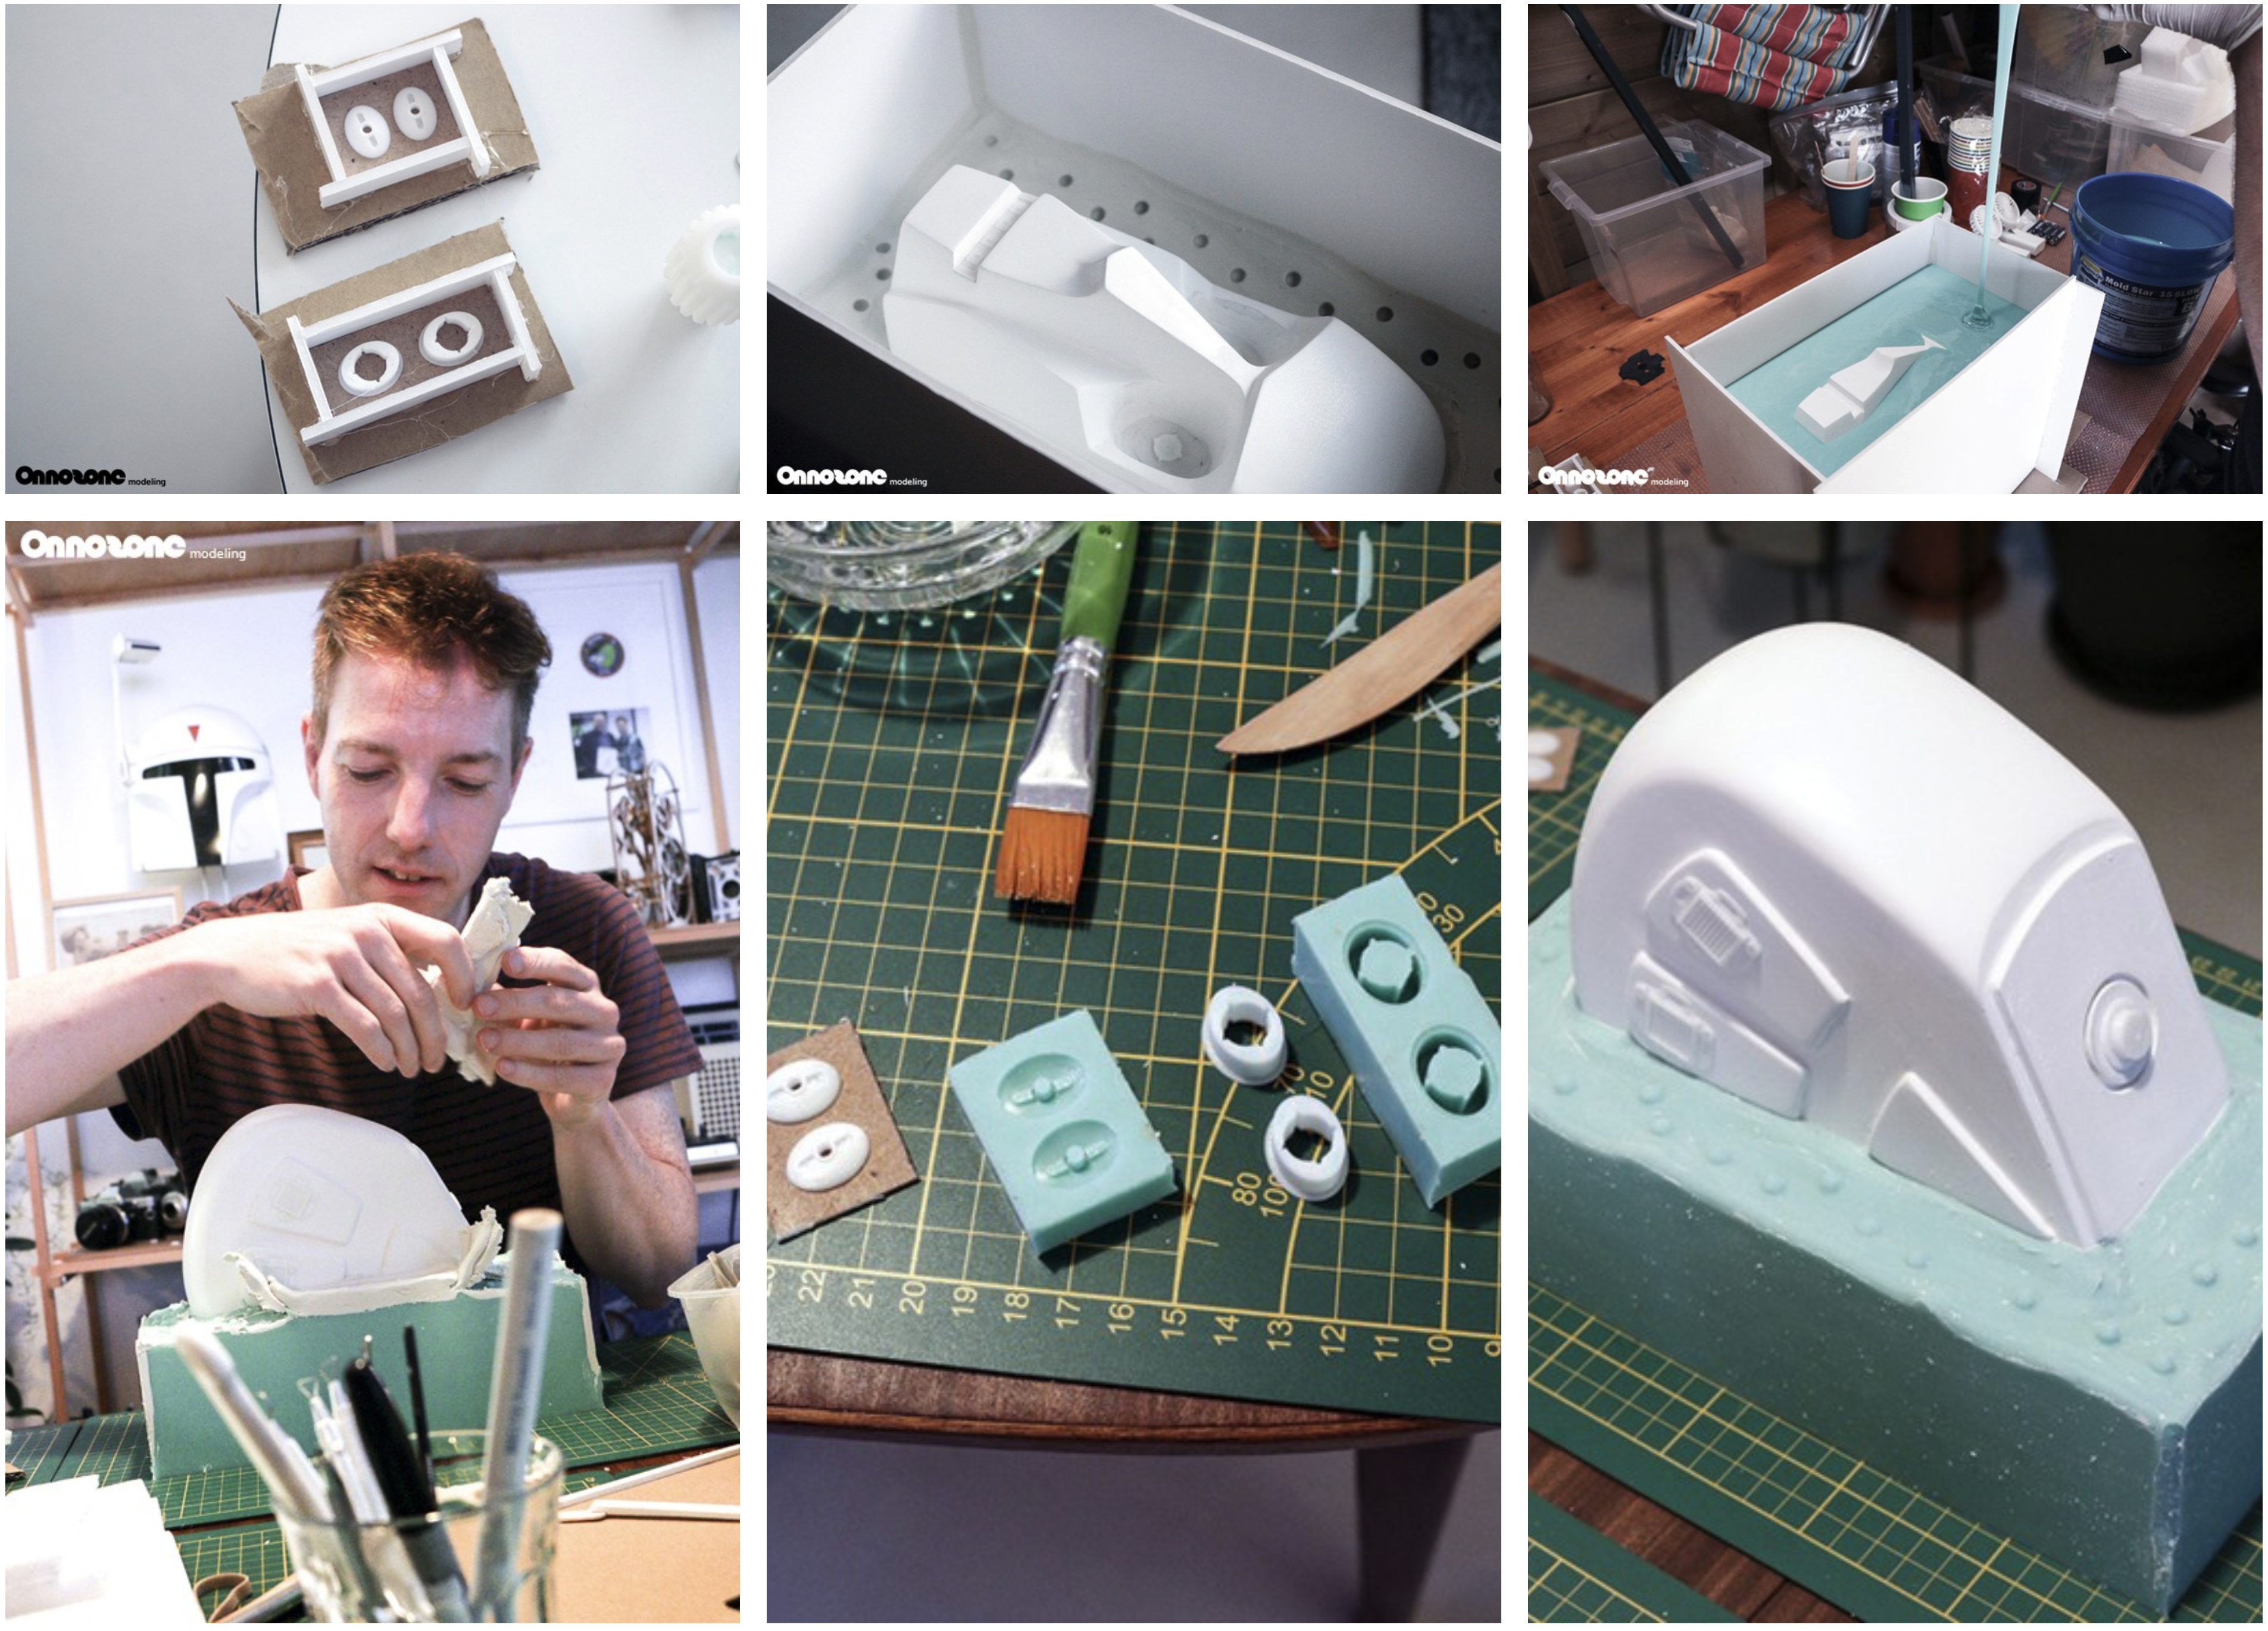
A nice learning curve.
Finished the huge and heavy silicone mold of the head.
A nice learning curve for future projects, what to do and what not. Overall it looks promising, next week I will make the first resin test cast.

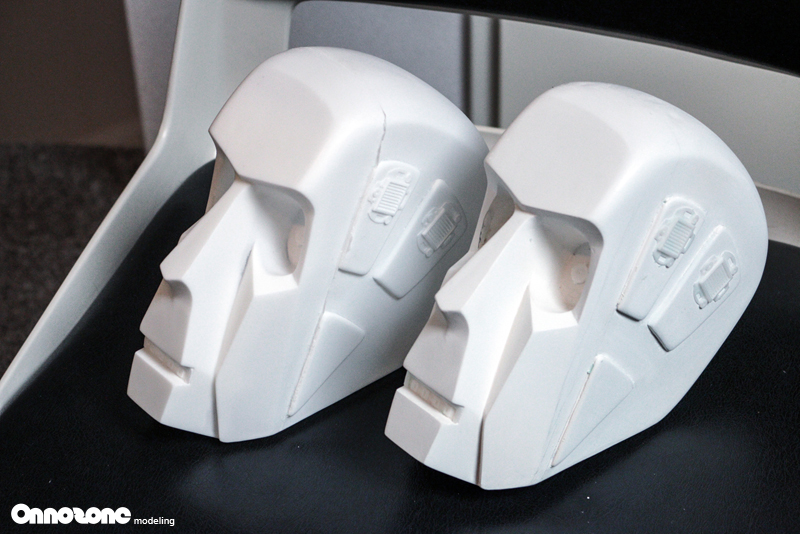
First resin cast.
“And then there are two!”
First resin cast is not at all perfect but a good learning experiment. I need to get a feeling how much to rotate the mold to get an evenly thick wall. But overall I’m impressed with the details, even surface texture details where copied.

I’m confident that after some more tests I can make perfect copies.
